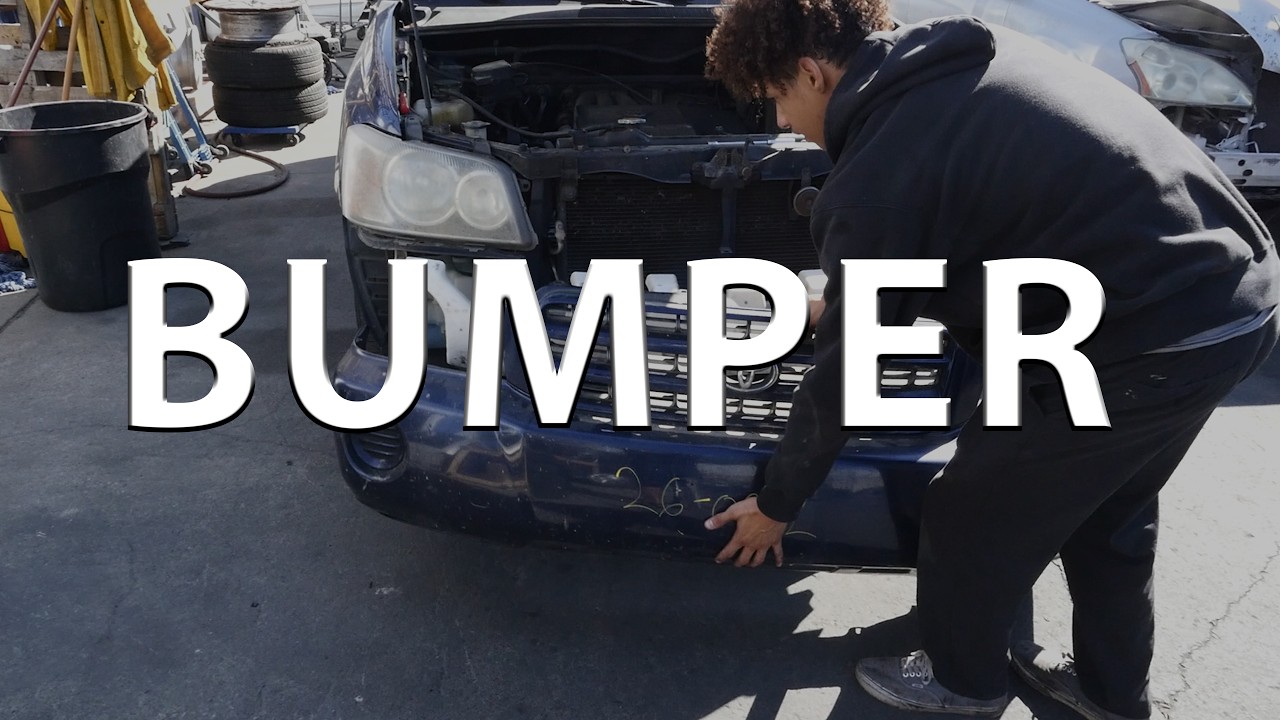
In this video we cover removing the front bumper, doing a conversion from a basic bumper to a parking sensor front bumper, swapping the front bumper intervals between the broken bumper and the new bumper, and lastly installing the bumper back onto the Mercedes Benz. E55 and E350 models should all be the same. This could be done for some, but not all, other types of vehicles too.
One thing everyone hates is finding a replacement bumper that matches the color of their car but is missing a feature causing it to not fit properly. All the extra money that gets spent on paint is not really worth it. And, having an mismatched bumper relative to the car color is not desirable. So, in this video we dive into the process on creating parking sensors on a bumper that matches the car interchange. In this video, we are working on a 2008 Mercedes Benz.
The parking sensor housing brackets have some glue on them from the old bumper. So, it's important to take a razor blade and shave off the excess glue. Try to remove as much of it as possible because that is where the new glue will go. By cleaning off the old glue it will give the housing a flatter and less warped fit back into the bumper. Also, be careful not to put TOO MUCH GLUE, you don't want it spilling over onto the actual sensor.
The parking sensor tool that drills a hole in the bumper should be available at most local home-department type of stores. The first hole creates a guide for the second hole to be drilled from the opposite end.
The red cloth you see in the video scuffs up the area where the glue will stick better. When the glue gets into the scuff groves it allows it for a better adhesive hold. That's why we scuff up the areas where the sensors will get placed.
While the glue is still wet adjust the complete sensor unit so that it looks centered with the hole in the bumper. Then, let it dry in place so that it doesn't move around while putting the rest of the bumper back together.
#suabru
#cars
#diycarrepair
Got car questions for diycarhunters.com? Comment below and our team will try their best to answer. Need car parts? We buy our parts from ahparts.com, call them at (916) 859-0027.
DIY work involves risk. Follow your vehicle's service information and use proper safety equipment.